Urethane cast photoelastic samples
Photoelastic samples can be cast! And this is, by far, the most convenient way to get it: more versatile (shape, mechanical properties, color...), cheaper, and without absolutely any residual stresses. Different photoelastic materials are castable. In this section, we will talk about urethane but you can also look here to see how to make photoelastic samples from gels. Acrylics are another popular photoelastic material.
This method is based on products you can find online at Smooth On. We emphasize here that the different authors of this wiki do not have any link of any sort with this company unless it is clearly specified in a paragraph.
The method described in details here have been first introduced by Cox et al. and Barés et al.. In case you would like to refer to the method in a publication, please cite these papers.
The full method is separated in three different steps. First, you have to make a rigid backing mold, then make a soft mold in which you can cast your sample. In the following, we go step by step through the method.
Making a backing mold for the mold of the sample
The backing mold is a positive relief of your desired particle shape. You need it to cast the silicone mold that you will use to cast the urethane. Polyurethane is strongly adhesive to most mold materials. Silicone is an exception, so the backing mold is used to cast a silicone mold for the urethane particles rather than directly fabricating a mold for the polyurethane.
Users have developed different techniques for the fabrication of the backing mold. The simplest technique is to glue something in the shape of the desired particles in the bottom of a cup. For more precise or reproducible results, you can 3D print or machine the mold. Here the material you will use must only be chemically compatible with uncured silicone (true of most materials).
-
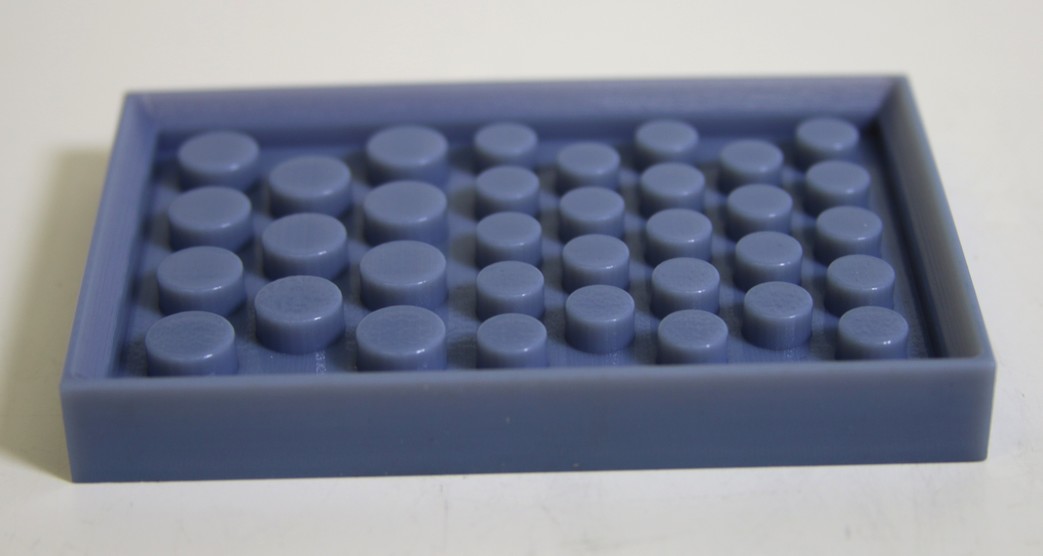
3D printed small cylinders backing mold:
-
Machined diabolo-shaped particle backing mold:
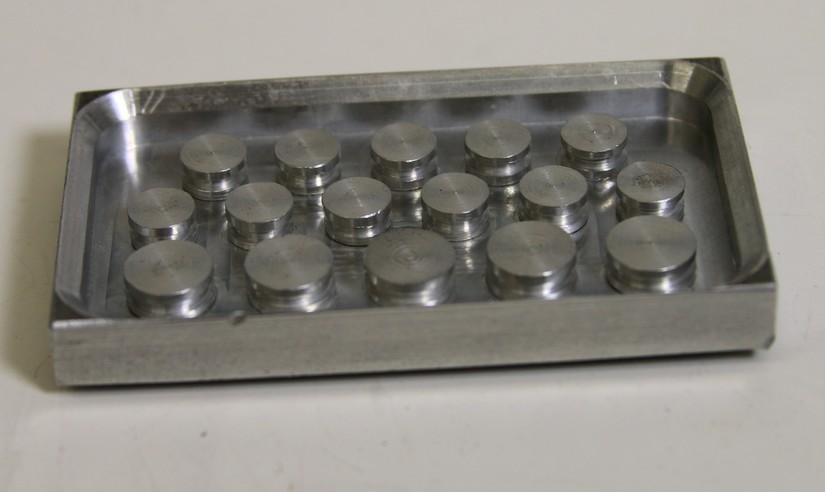
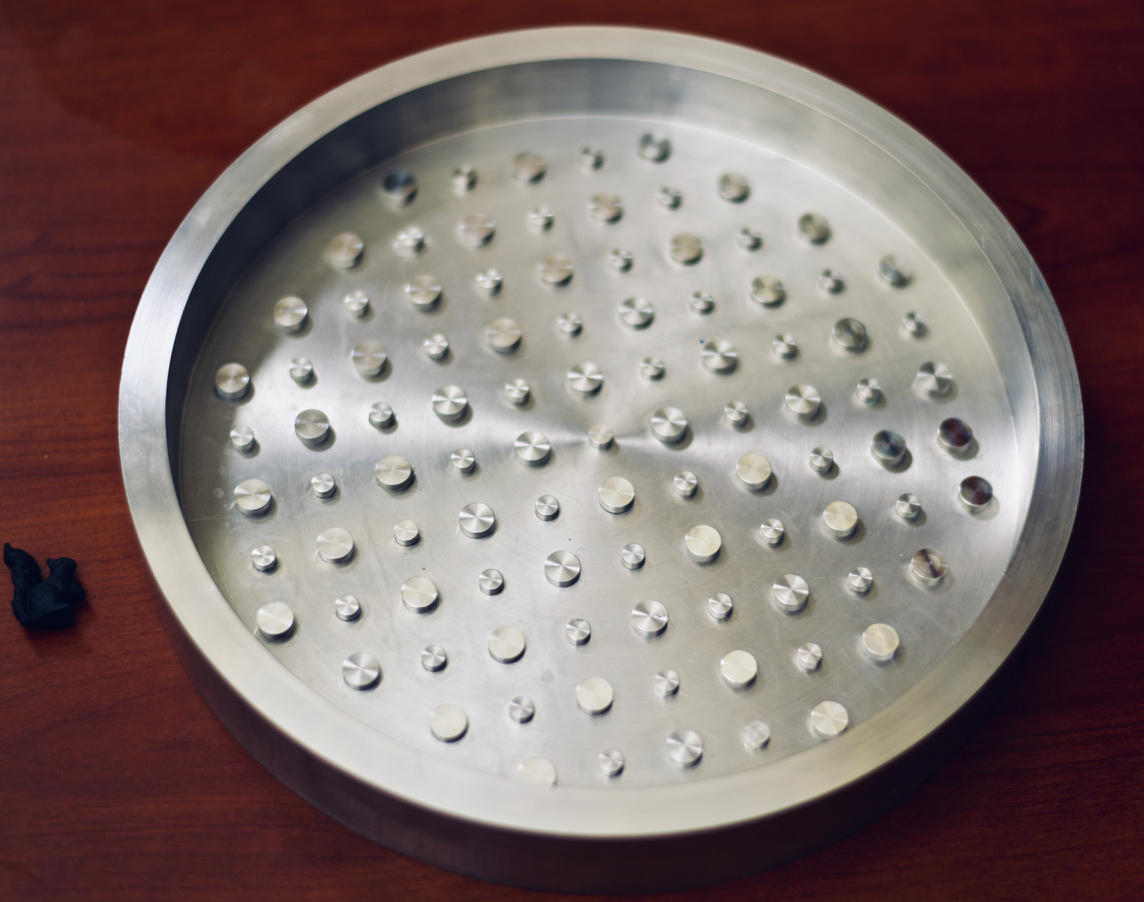
As in both of the examples pictured above, a mold that produces a silicone negative of uniform thickness and with regularly spaced particle wells will lead to the most reproducible and easy-to-produce castings. One innovation that has proven successful and improves the versatility of the backing mold is to machine a dish to precision flatness, then drill an array of tapped holes into the dish. Any desired particle shape can then be machined or printed with a matching threaded post and screwed into the dish. Thus, a single backing mold can be used to create particles of any shape. Note that the inverse analysis technique to back out the vector forces on urethane particles is only well-developed for circular particles.
- A modular dish with cylindrical posts of two sizes:
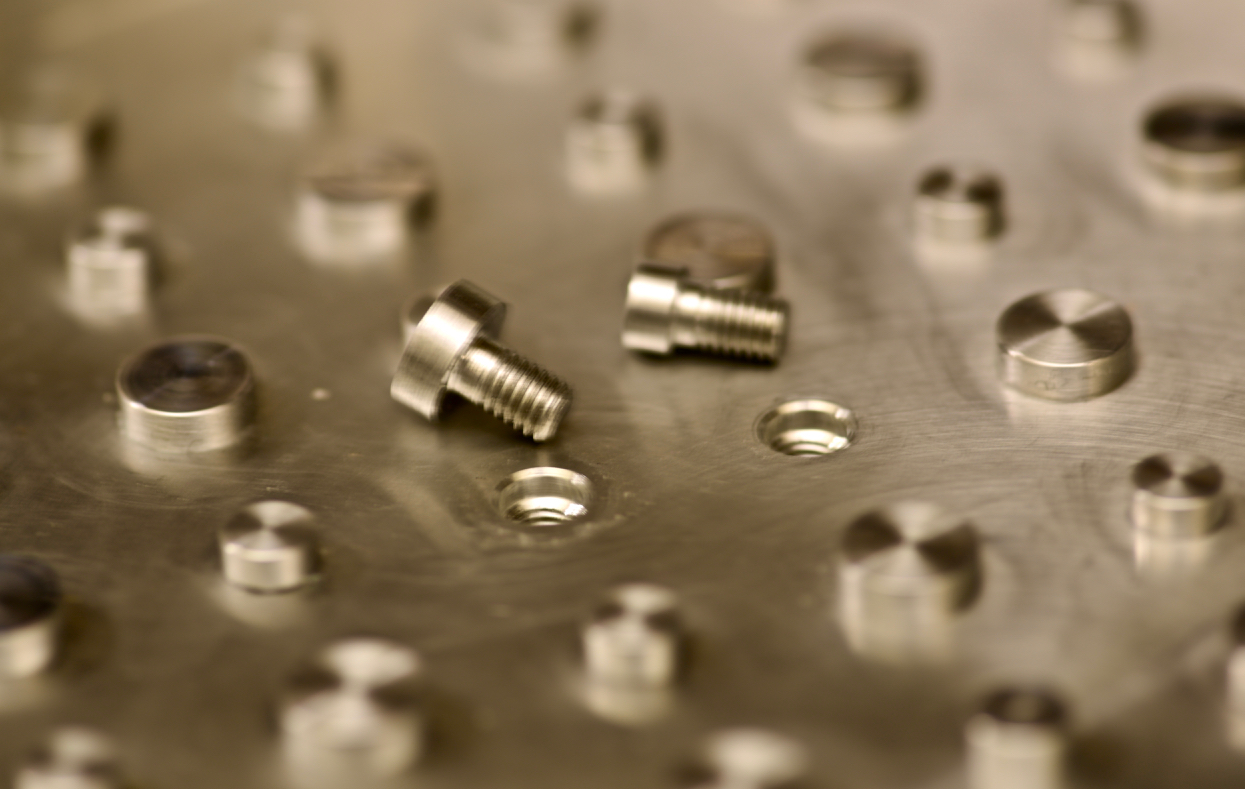
- A close-up of the removable posts, with threaded rods revealed:
Making a mold of the sample
Once we have got the backing mold, we can cast the mold. This one is made of Mold Star silicones: 'cure to soft, strong rubbers which are tear resistant and exhibit very low long term shrinkage'. They are different sorts depending on what you are casting and how fast you want to go. In the following example, we use Mold Star 15 Slow which fits most of the cases.
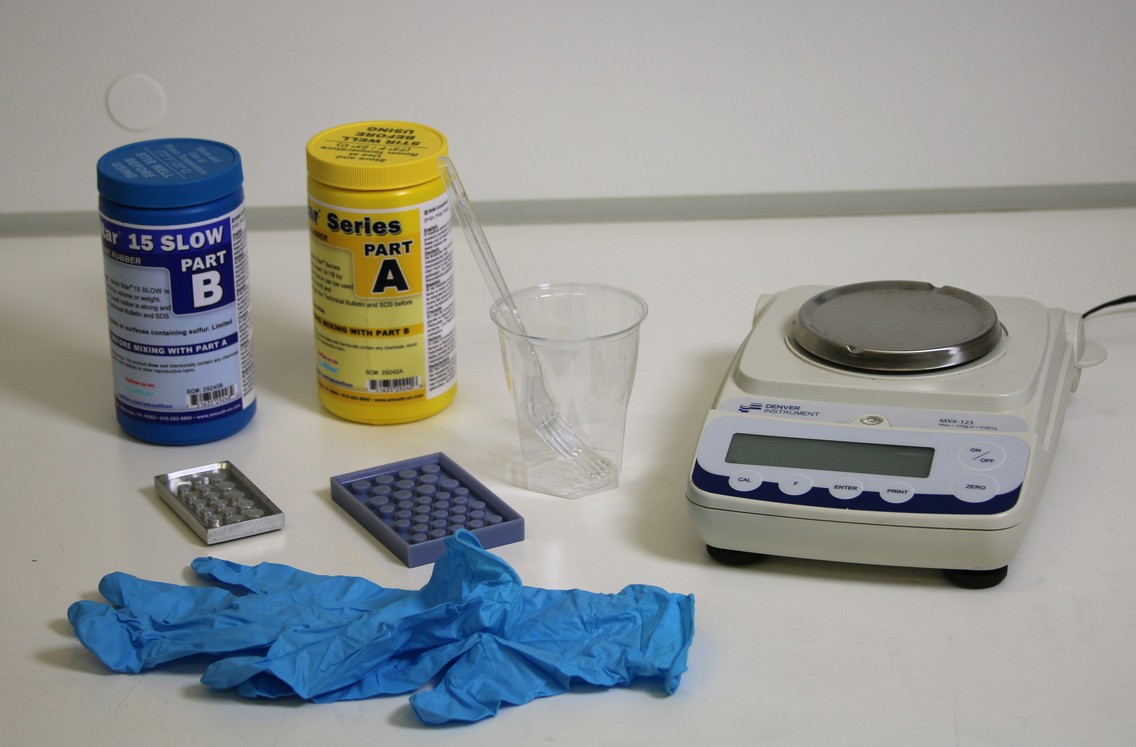
Everything you need at this step is: * A and B parts of the Mold Star silicone. * a cup and a fork to mix the silicone. You can use something more professional but this works. * your baking mold. * protection gloves. * a scale. You can also use anything to measure volumes.
You can find all the safety and processing recommendations for Mold Star 15 Slow here. Remember to check this first.
You need first to mix parts A and B in equal ratios to make the silicone. Recommendations are to mix it in an equal ratio by volume. But it also works quite well in an equal ratio by mass and since it is easier, that is the last way we will use here.
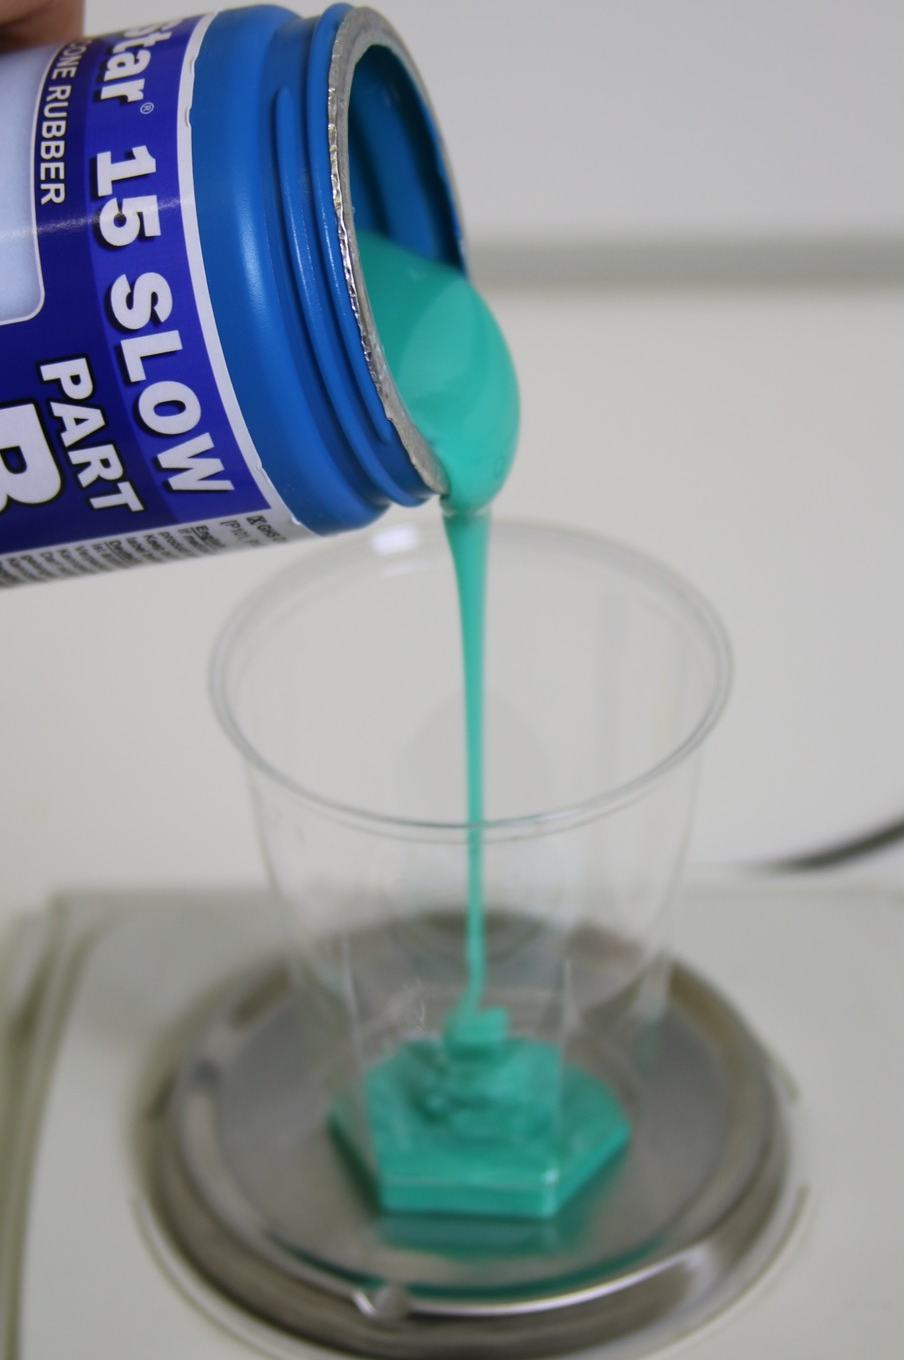
You pour a certain mass of part B:
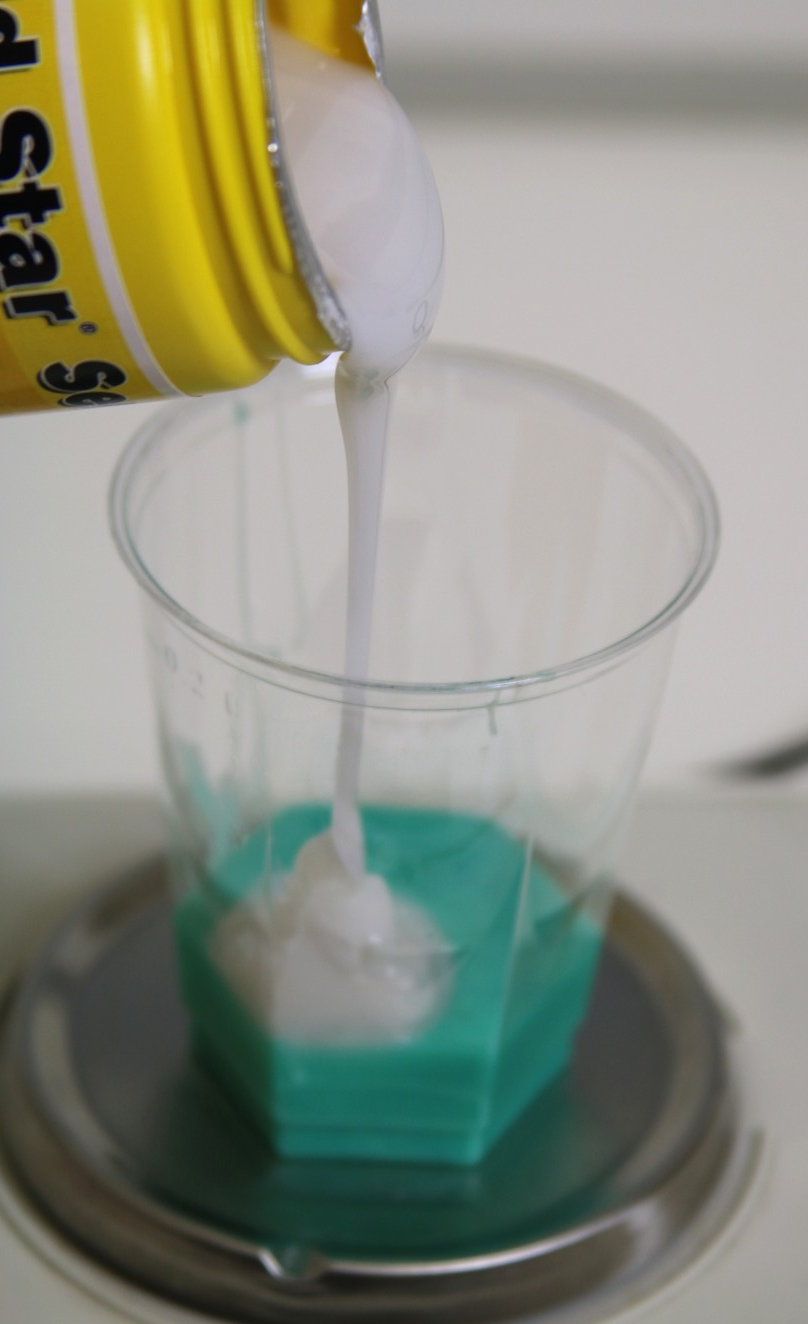
You add the same mass of part A:
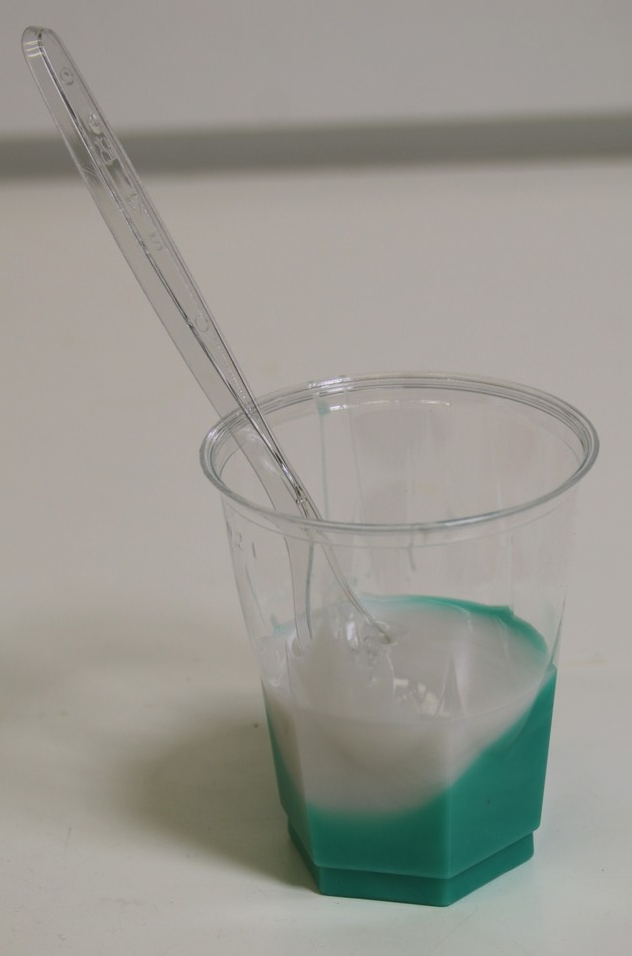
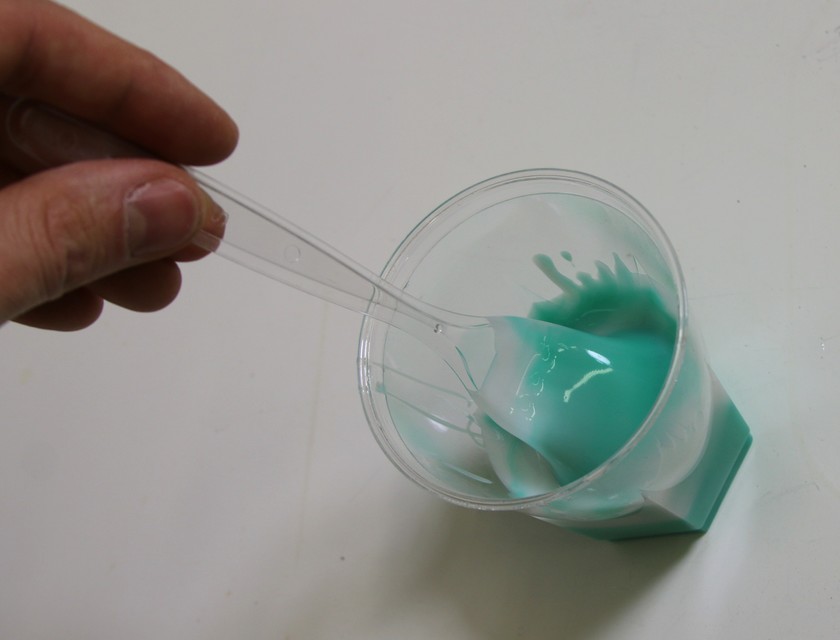
And you strongly mix it with the fork taking care of scratching the edges of the cup:
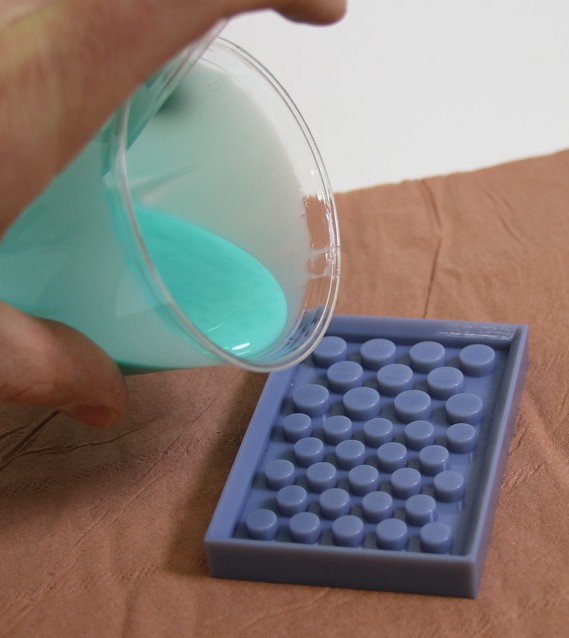
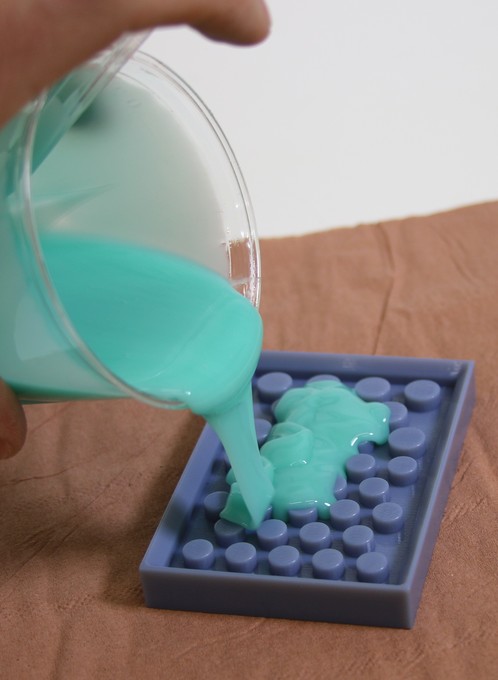
The silicone is ready you do not need to degas it, though it can improve the quality of larger molds (100+ particle molds) to briefly degas under vacuum, then cure under pressure. Then, you slowly pour it in the backing mold, making sure that the particle-shaped posts are covered by at least 3 mm of silicone. If you have a small spill or drip down the sides of your backing mold, the silicone is easier to clean once cured:

After about 5 hours (overnight if you want to be sure) the silicone is cured:
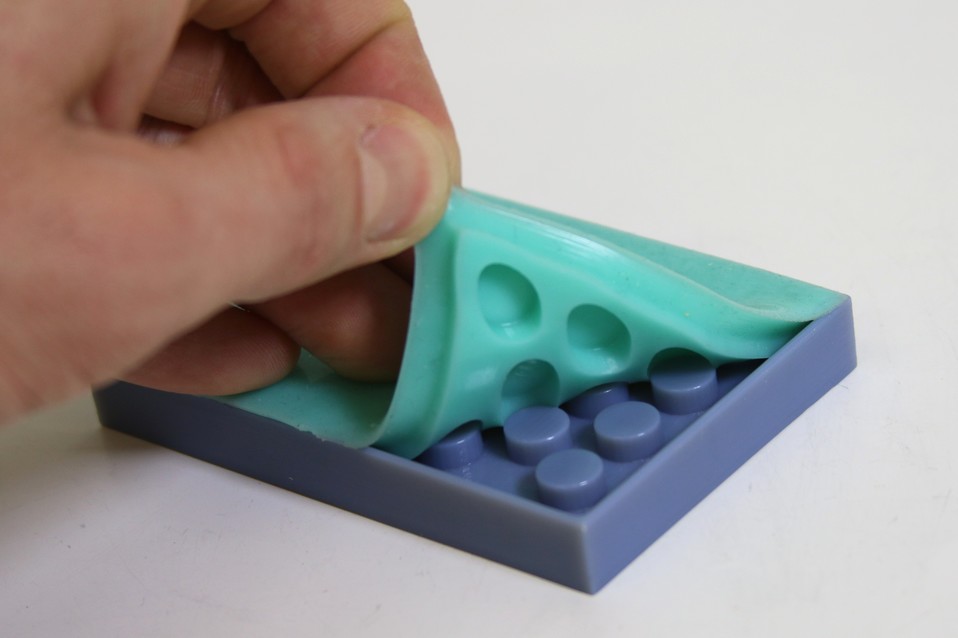
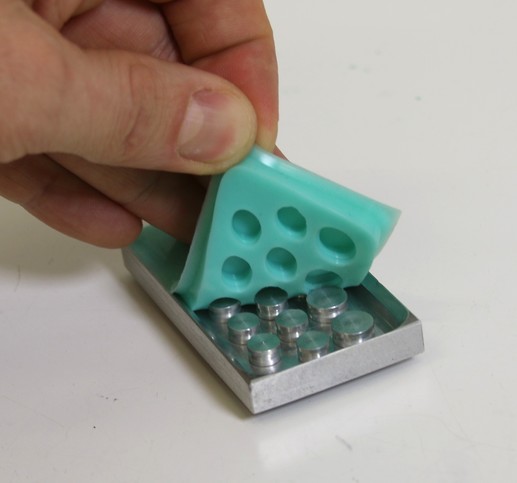
You can, now, safely pull the silicone mold away from the backing mold. It is very durable so do not hesitate to pull it strongly:

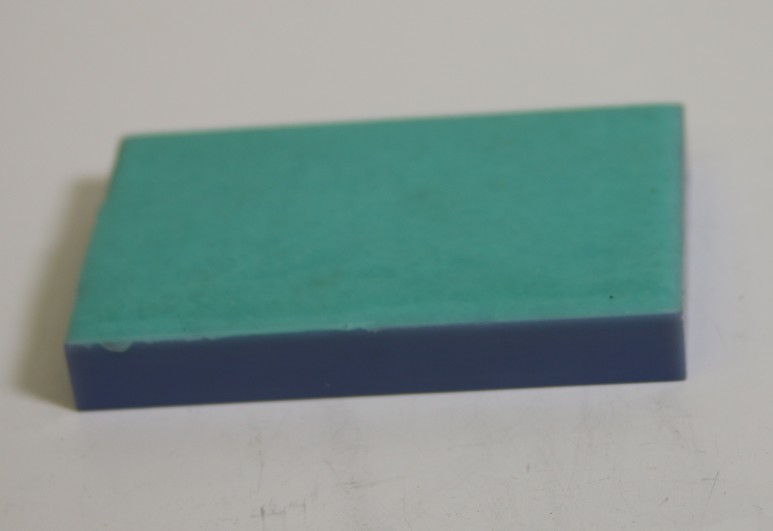
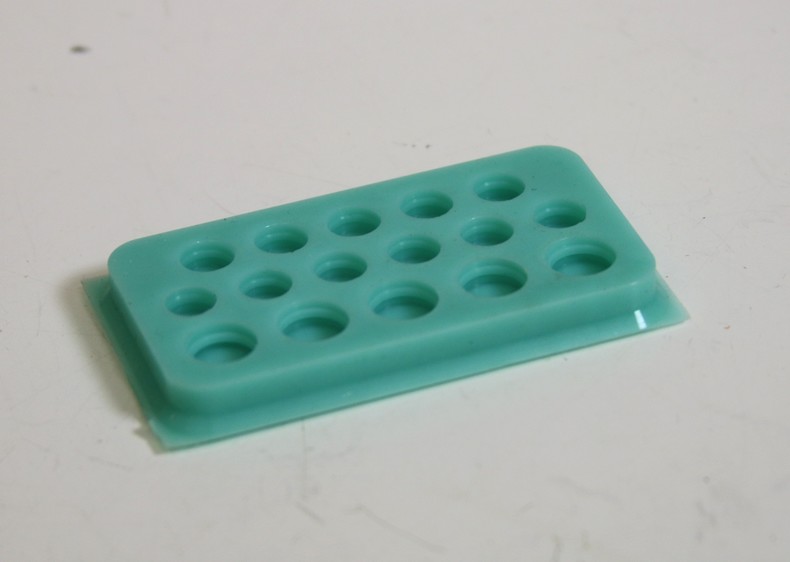
To be sure that the mold is correctly cured, once removed from the backing mold you can cure it few more hours at 60 C (this is not absolutely necessary but better if you want to keep your mold longer). Here is an example of mold you can get:
Once cast, this mold can be reused many times (~100) until it gets a bit sticky or accumulates damage. Molds for non-concave particles tend to last longer than those for particles with concave features. Also, remember that it can be easier to duplicate this casting step instead of duplicating the backing mold or making a bigger one - if the quality of your final particles starts to deteriorate, a helpful troubleshooting step is to create a new silicone mold.
Picking the right urethane
Before casting urethane, you need first to choose the best for what you want to do. The photoelastic signal is a function of the strain: the larger the deformation, the more you will have fringes. But if fringes are too dense they will overlap and you will not be able to measure anything. This will happen if you load your sample too much or if it is too soft. On another hand if the sample is too stiff or if you do not load it enough the photoelastic signal will be too weak to see resolve the forces. Note that this also depends on the thickness of your sample. That is why, depending on your sample's shape and how you load it, you need to pick the right urethane stiffness.
The castable urethane we use here is a Clear Flex: 'a water white clear urethane liquid rubber compound designed for applications that require absolute clarity'. It is available in three different shore stiffness: 30, 50, 95. The one we use here is the Clear Flex 50. It is the most commonly used for centimetric samples that experience up to a few Newtons of load. Also, note that by playing (non-linearly) on the quantity of cross-linker (part A) you add in the urethane, you can tune the material stiffness. But be careful because changing ratios also changes the curing time, and can introduce more mechanical nonlinearity!
If you want to color the sample for imaging purposes, you should use So Strong dye. In the following walkthrough of the casting method, we lightly tint our sample green because that coloration usually optimizes contrast in a polariscope.
A more aggressive addition of dye can simulate the effect of using an optical filter or illuminating with monochromatic light. In the image below, we show sets of particles that are (left to right) darkly dyed, lightly tinted, and clear.
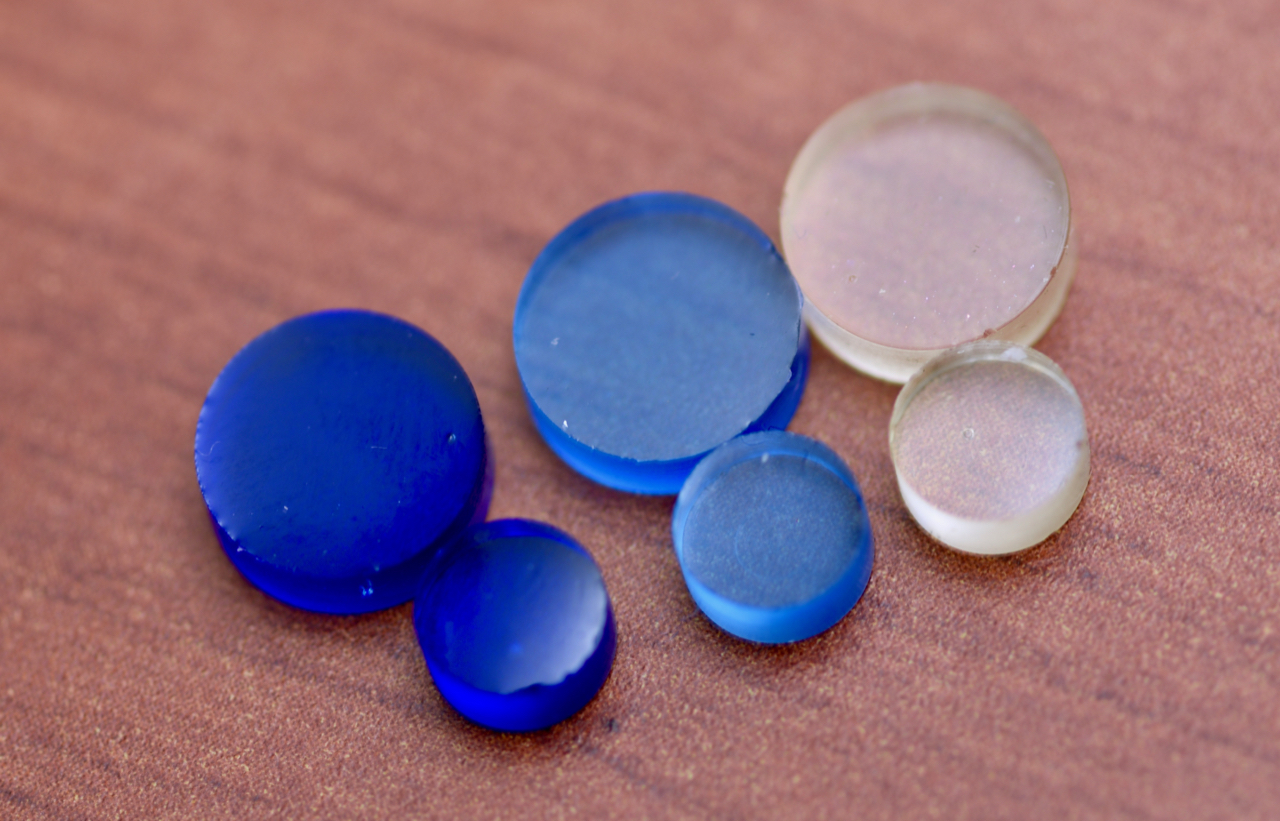
While the darkest particles appear opaque to the eye, placing them on a backlit grid shows that all three colors of particles transmit light:
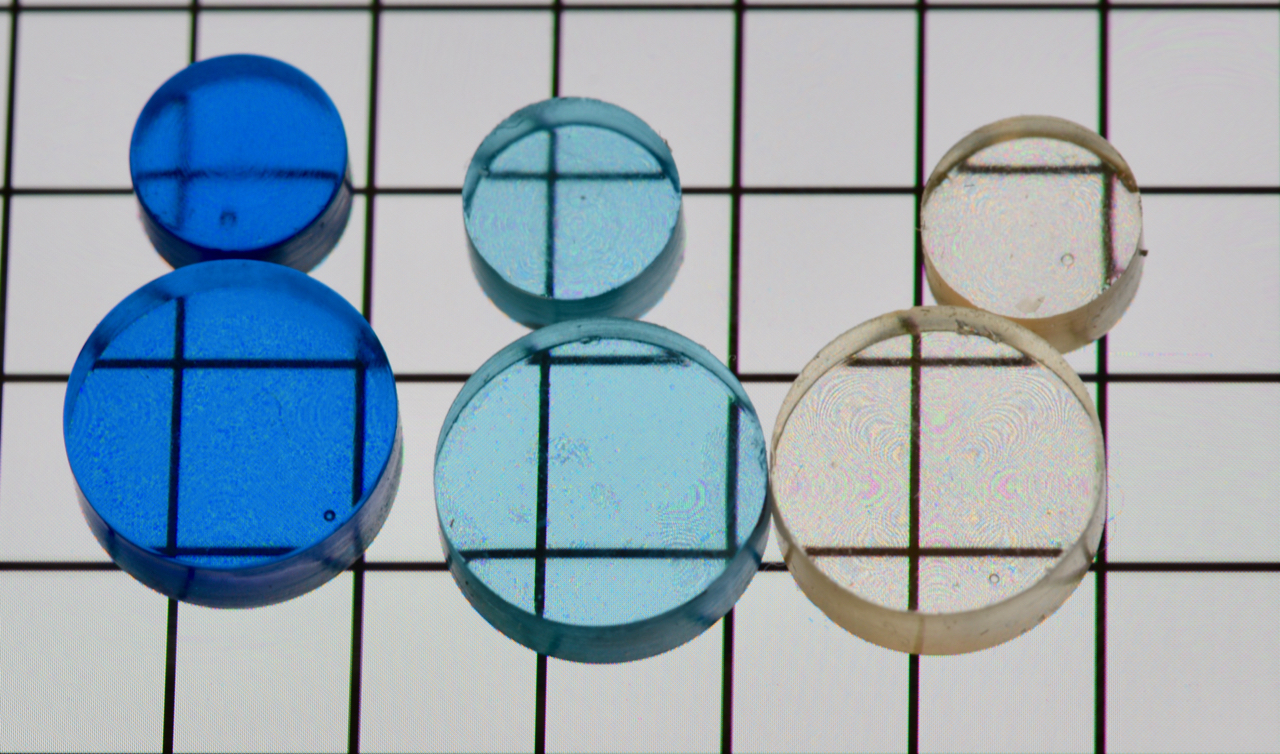
Indeed, in the blue channel of the image, the particles are nearly indistinguishable:

However, in the red channel, we can see that only the darkest particle effectively blocks the red light completely:
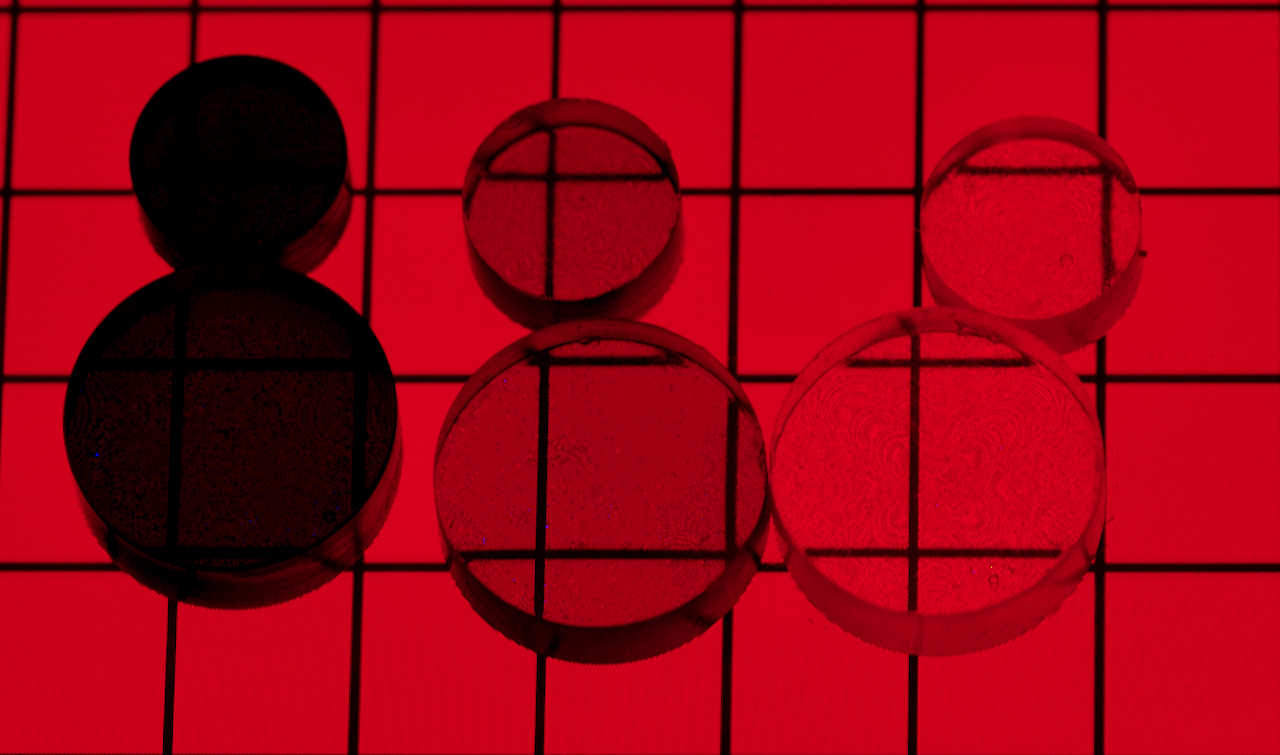
Thus, darkly colored particles can be quite useful in application: a single photo, split by color channel, can provide a nearly monochromatic, darkfield polarogram for stress measurements, but also a high-contrast, brightfield image for the purposes of identifying particle locations. When using this approach, it is helpful to keep in mind that the stress-optic coefficient is a function of wavelength: coloration, in addition to stiffness and material thickness, controls the resolution and dynamic range of your photoelastic measurements. Longer wavelength (redder) light produces fewer fringes for the same strain than shorter wavelength (bluer) light. Thus, blue particles will be more sensitive, while red particles may facilitate experiments with greater inter-particle forces.
Casting method
The next step consists in making urethane rubber and pouring it into the silicone mold. This is the tricky part...
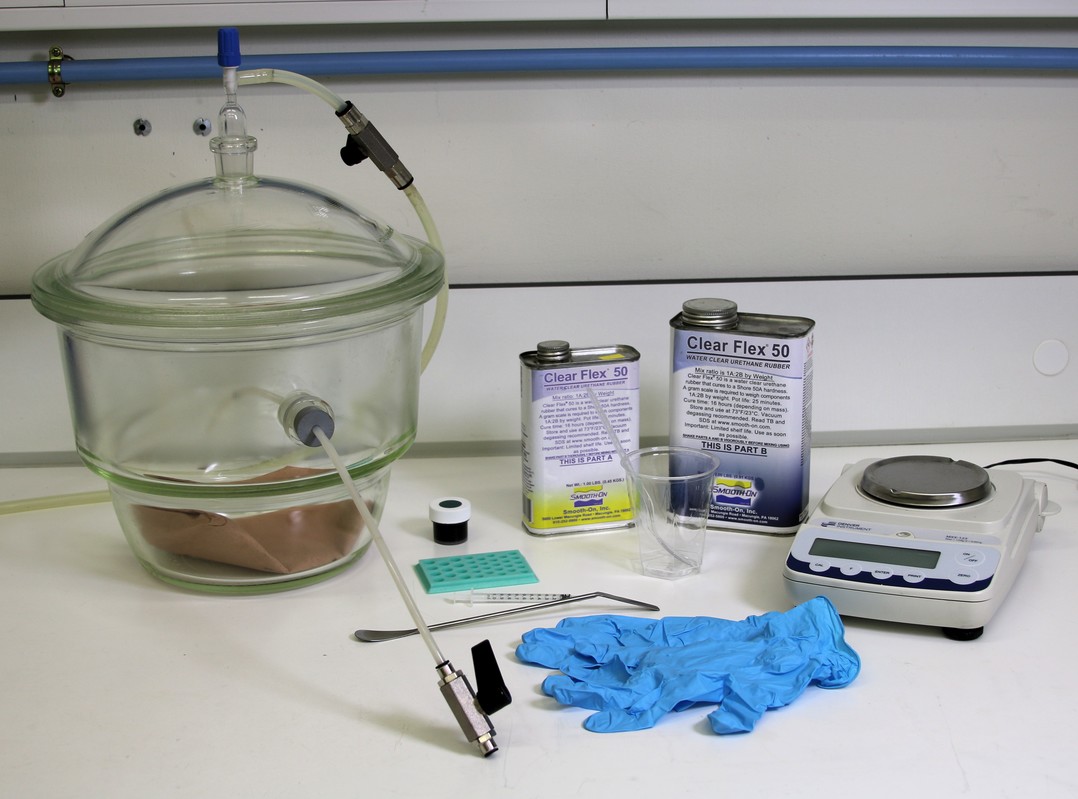
For this step you will need:
- Parts A and B of your chosen 'Clear Flex' product.
- green 'So Strong' dye.
- a cup and a tool to mix the urethane. It is highly suggested you use disposable cups because cleaning the clear flex residue is very difficult.
- your silicone mold.
- a syringe (or micropipette).
- a scale. You can also use anything to measure volumes.
- protection gloves.
- a vacuum chamber coupled with a vacuum pump going as low as 0.98 bar (9 inches of mercury).
- a piece of fishing wire or any very thin wire.
Here again, you can find all the safety and processing recommendations for Clear Flex here. Remember to check this first.
Some general notes: - Because of the fast curing time, it is good to work in small batches when possible. - For larger batches, it is essential to mix the components thoroughly. A spiral arm paint mixer running at approximately 600 RPM is an effective approach. - One of the greatest challenges is depositing the mixed resin into the mold in uniform volumes. The high viscosity and non-linear rheology of the uncured resin make this a difficult task. Metering approaches that use positive displacement work best. Here we recommend the use of a syringe or pipette. If available, a chemical metering pump can provide improved results, particularly for larger batch sizes.
You need first to mix parts A and B in equal ratios to make the urethane. The manufacturer recommends mixing it in equal parts by volume. We have found it also works well in equal parts by mass, and since it is easier to dose by mass, that is the procedure we will use here.
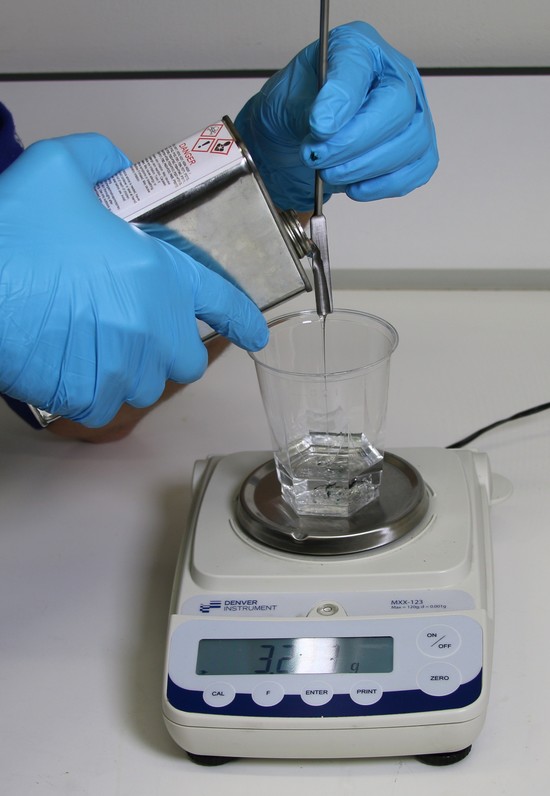
You pour a certain mass of part B:
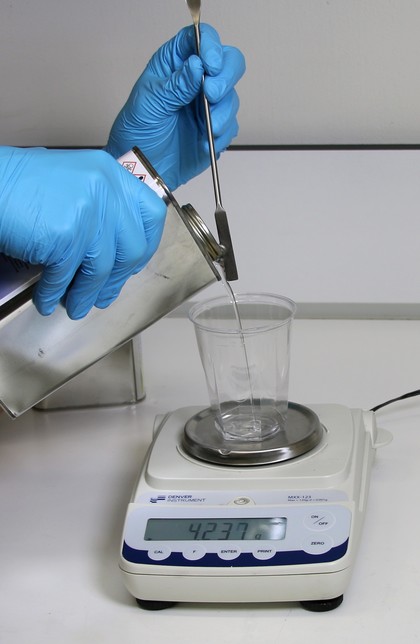
If you want to color the urethane do it now! First, remember that the dye is called 'So Strong!' A little bit goes a long way. If you want your grains to remain transparent to the eye, just add the smallest amount (1 drop is generally enough). If using color to simulate a color filter or monochromatic light, we recommend carefully measuring the volume of dye you use and determining the correct dose by trial and error. Here are three sets of particles:
The dark particles on the left were made with 40 microliters of blue dye per 16g of Part B. These transmit nearly monochromatic light, but the particles will be very dark, nearly opaque to the eye. The particles in the middle were made with 1 microliter of dye per 16g of Part B, and are nearly as transparent as particles without dye, like those on the right, but with a light tint.

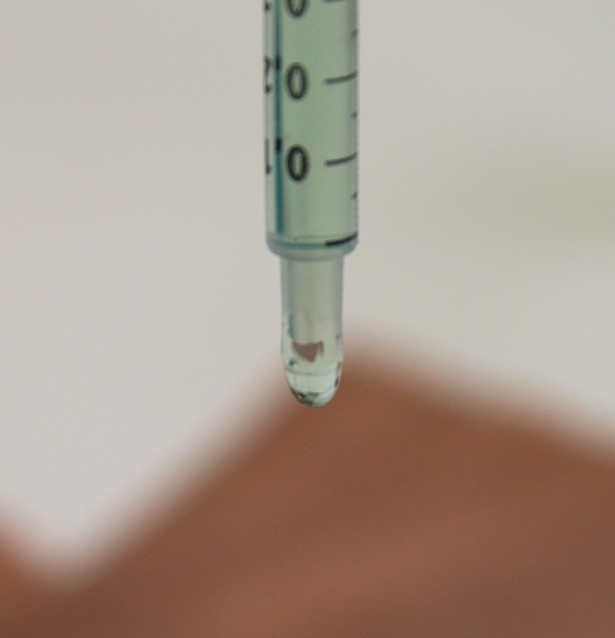
Plunge a few millimeters of the fishing wire in the dye to get a small drop:
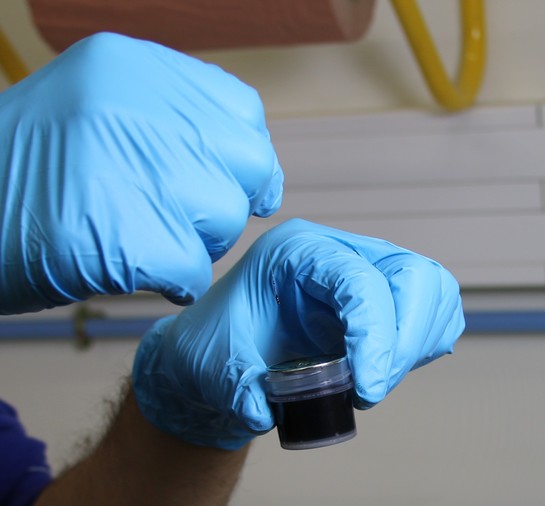
Pour this drop into the cup:
Depending on how strong you want the color to be, you can add more.
Then you add of part A:
Note that you can use any elongated tool to conveniently guide the liquid flow out of the bottle. Also, note that it is very important to carefully clean the A part bottle before closing if you do not want the crosslinker to permanently seal the bottle. You will see what I am talking about the next time you will make a sample...
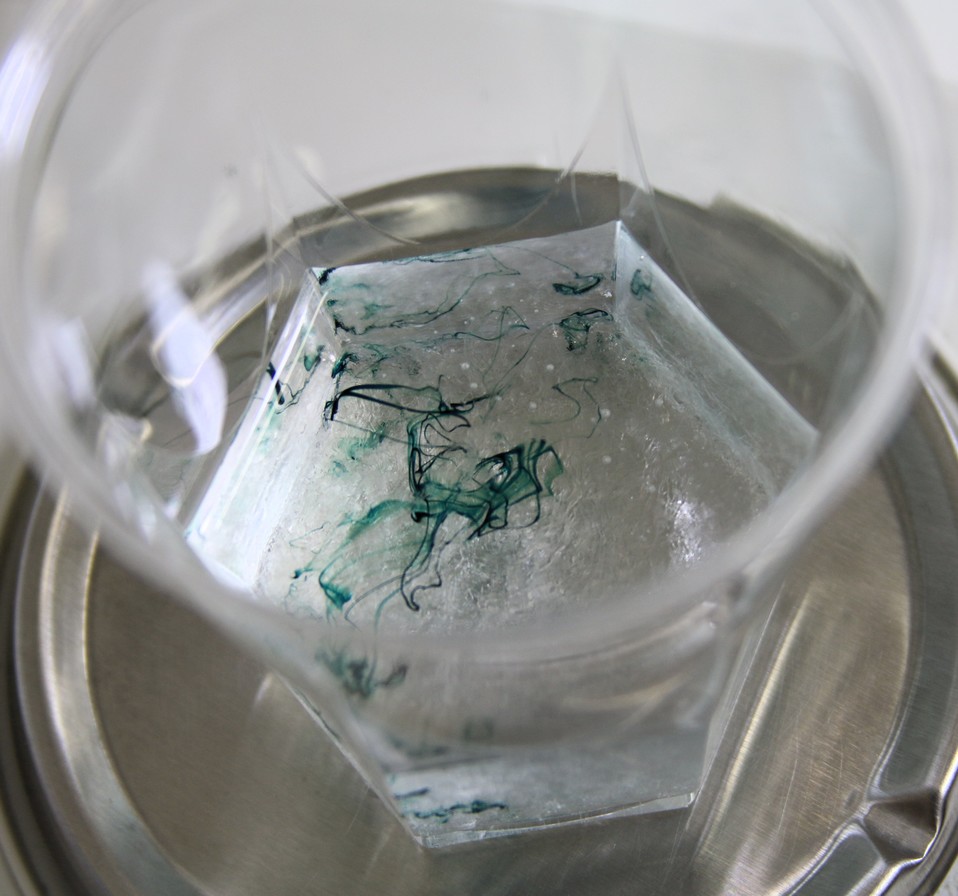
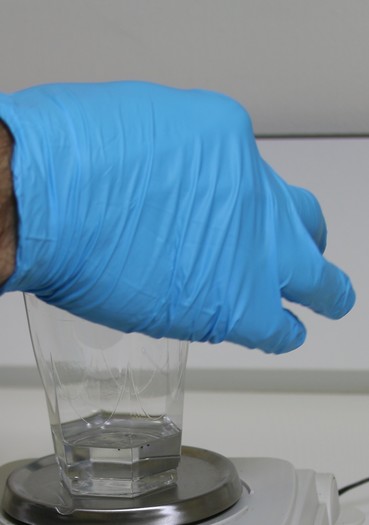
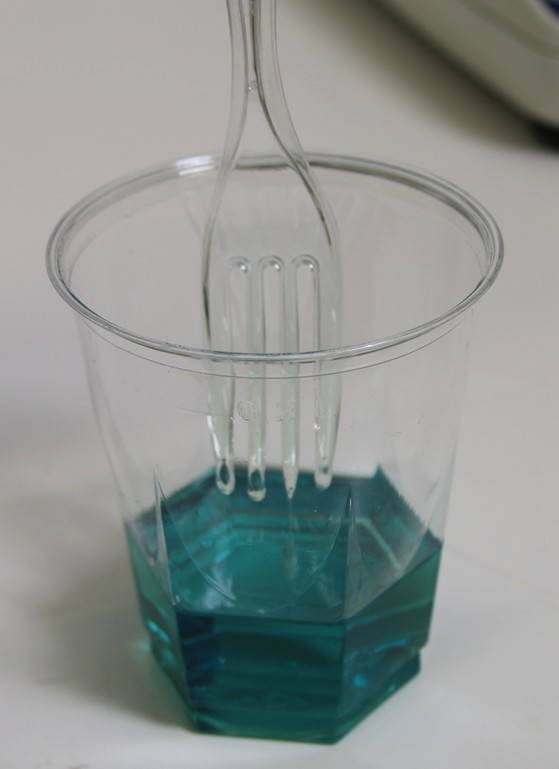
Then you strongly mix parts A and B with the fork taking care of scratching the edges of the cup. First, the liquid is blurry:
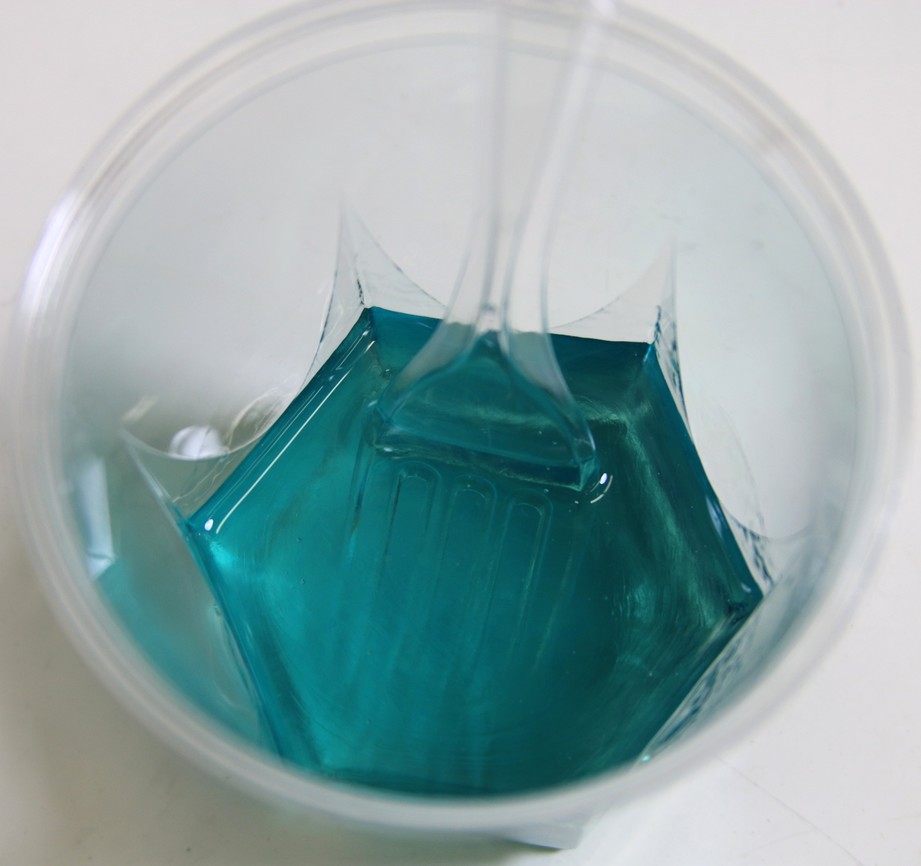
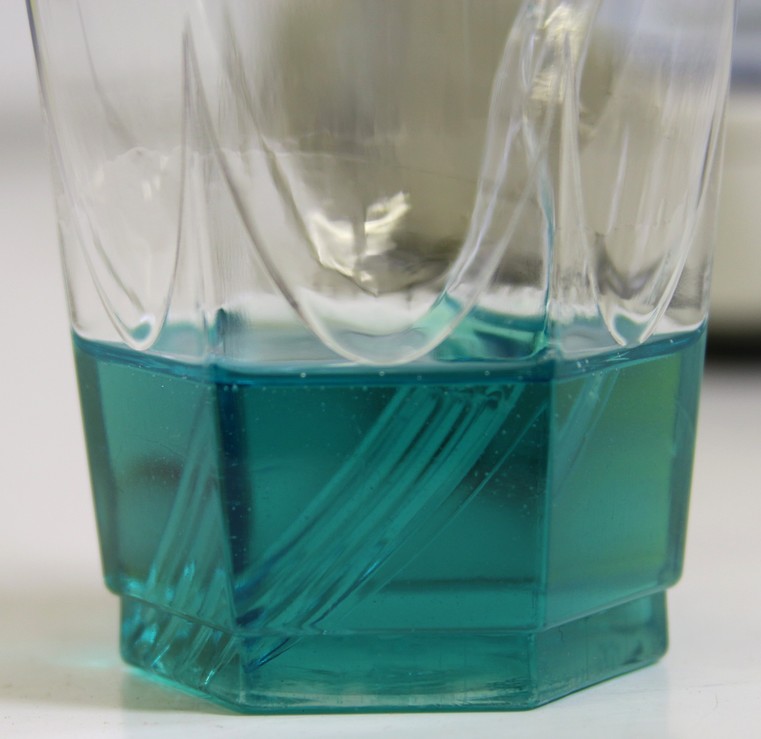
Mix again, until the liquid is perfectly clear:
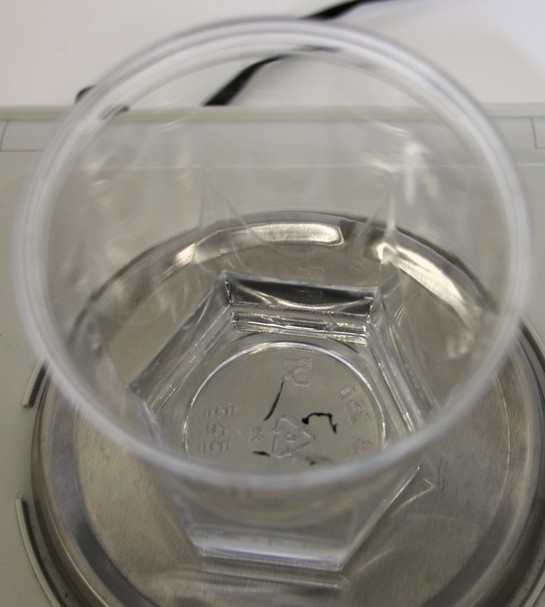
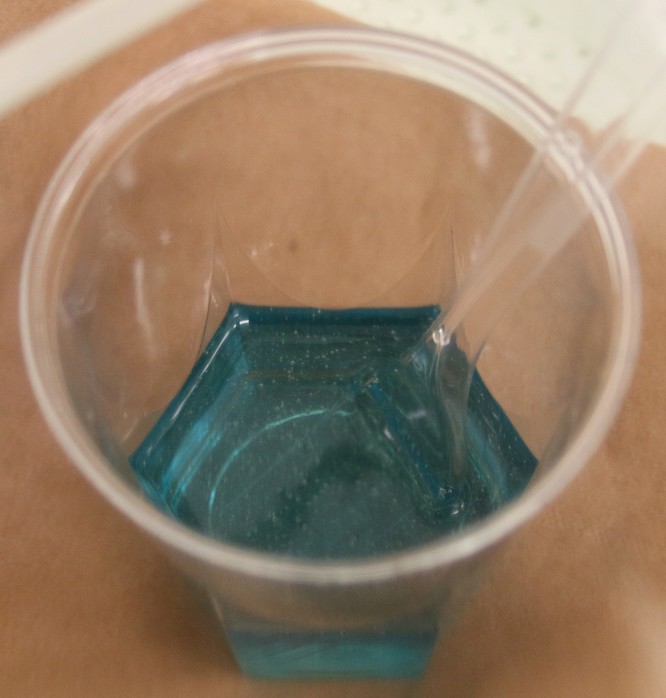
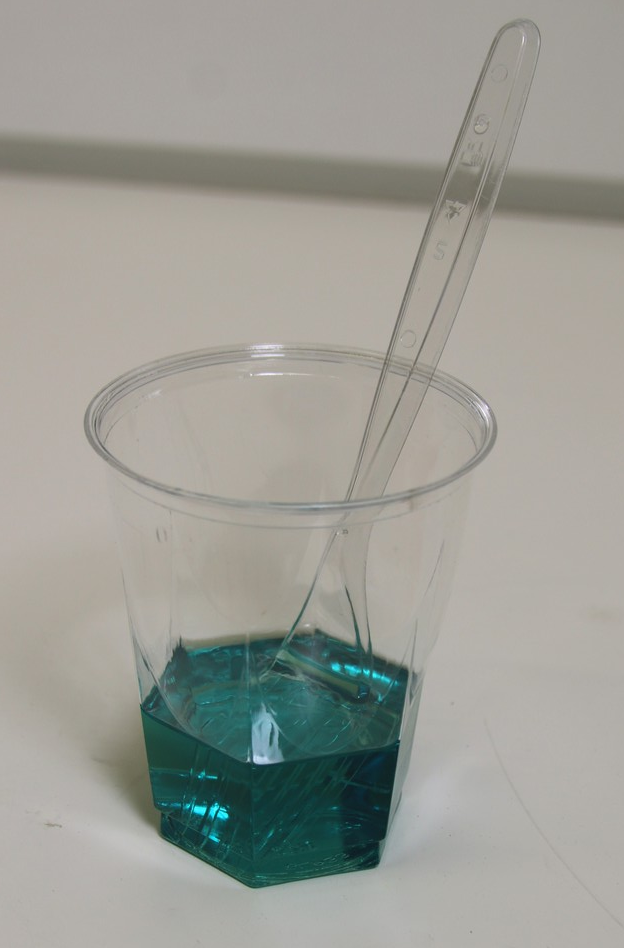
By mixing we trap bubbles in the urethane. We need to get rid of them to have a perfectly clear sample. To do so we will degas the urethane in a vacuum chamber:
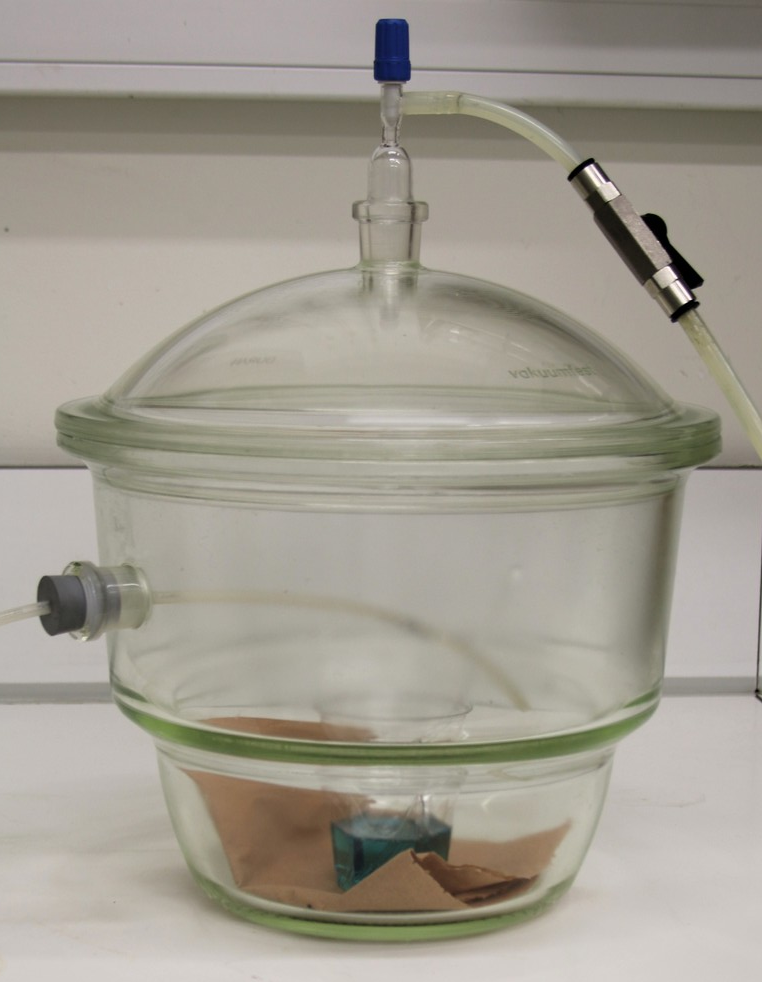
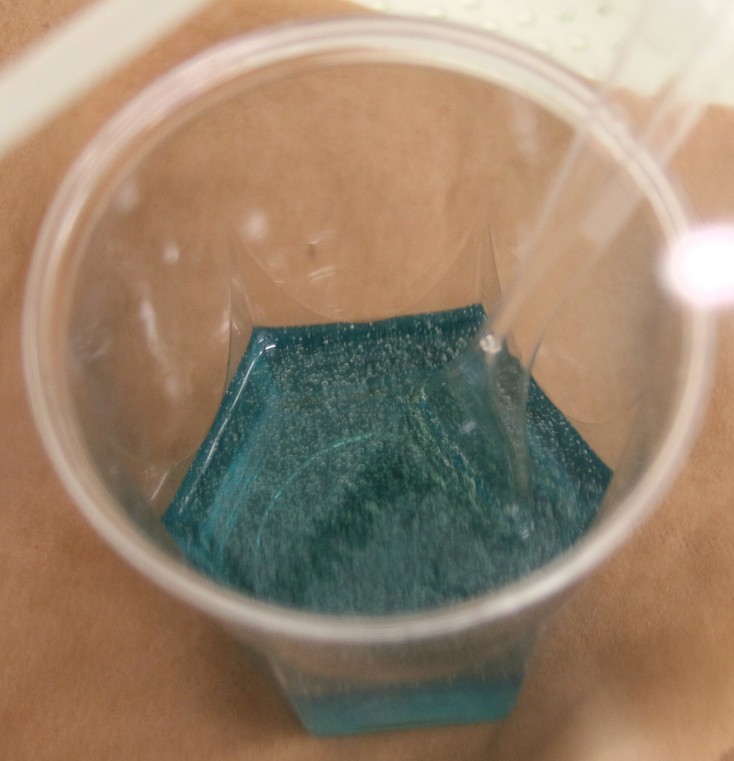
When degassing you will see more and more bubbles, then less and less:
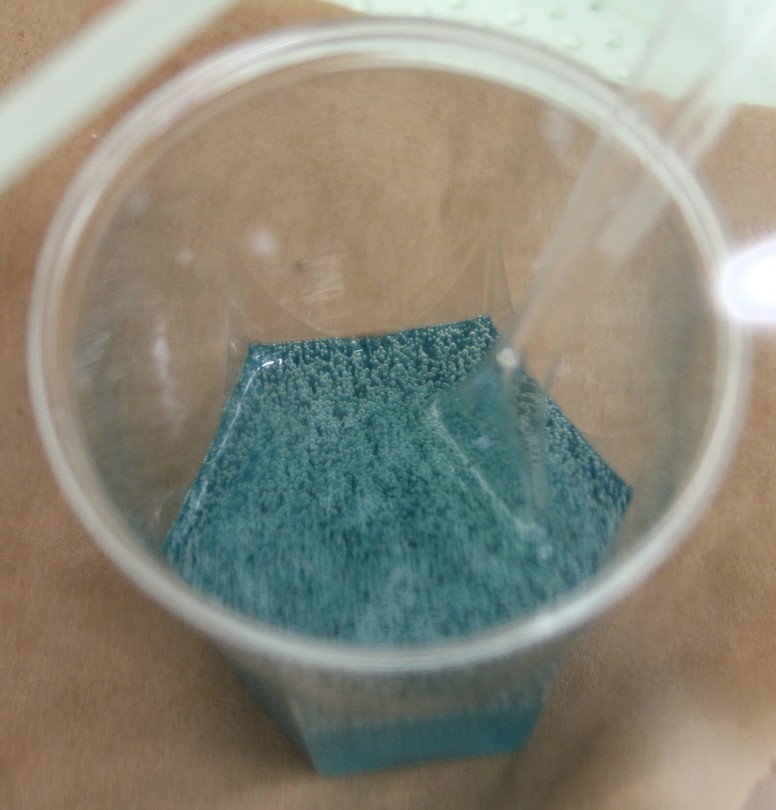
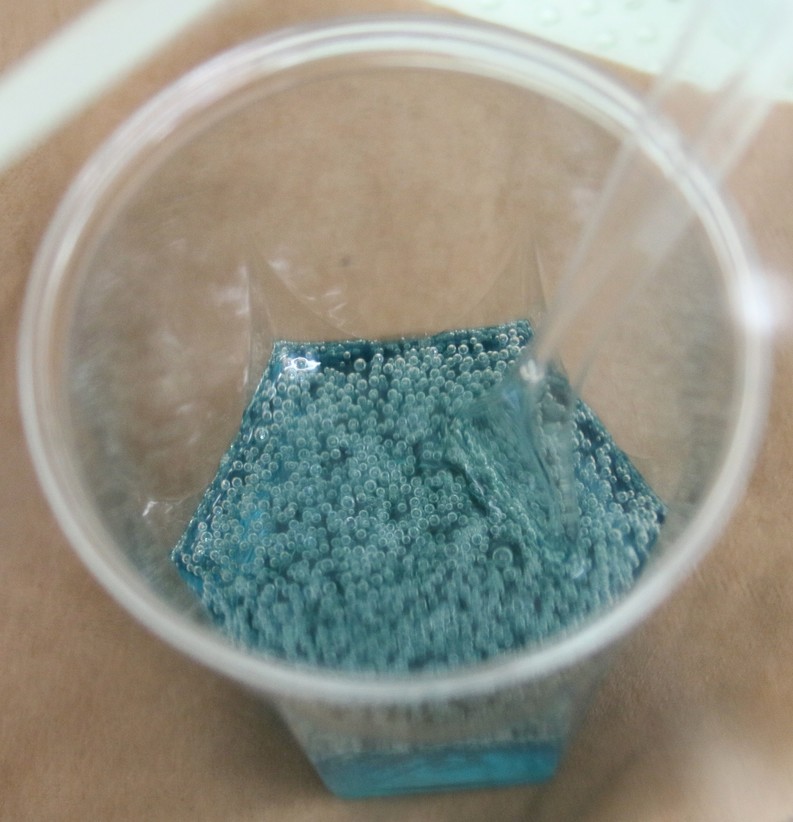
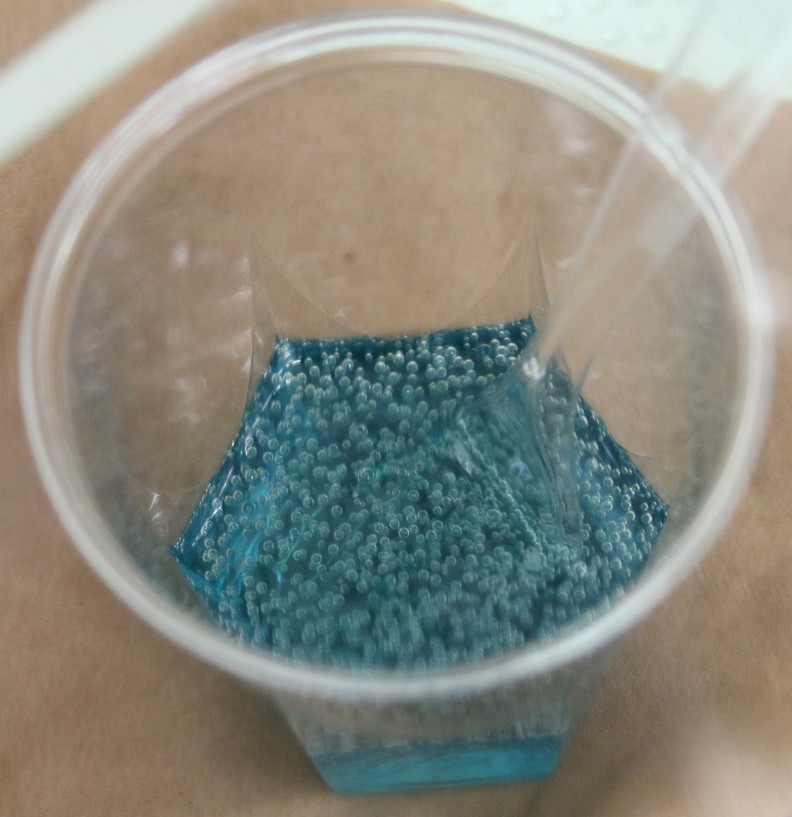
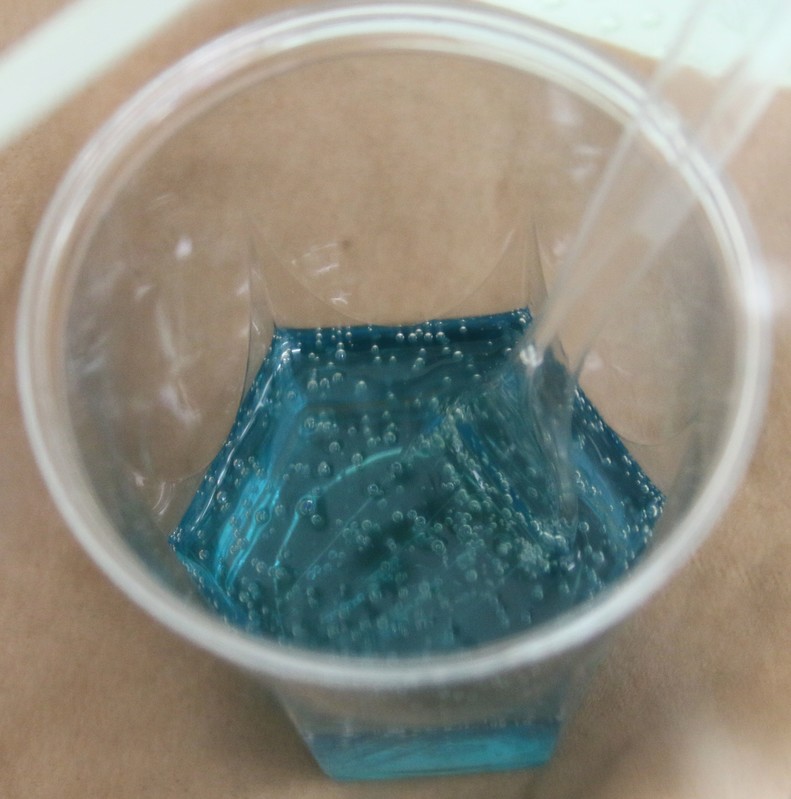
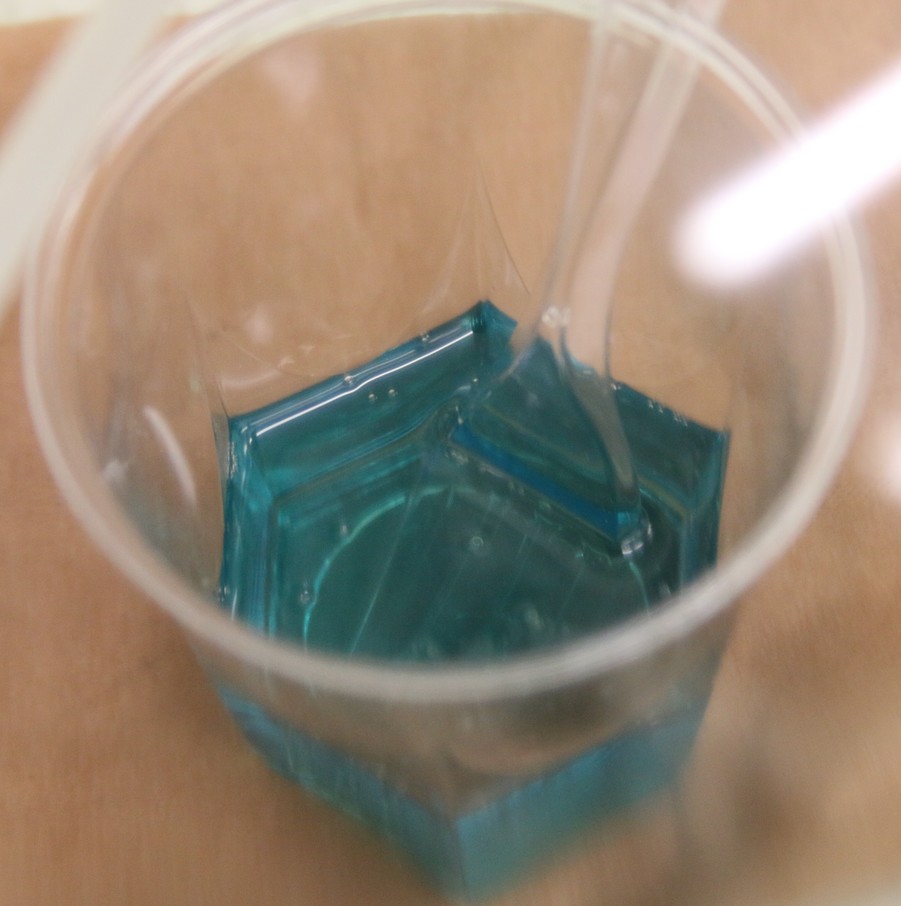
After 2-3 minutes when just a few small bubbles are remaining, you can pull the cup out of the vacuum chamber. You should get something like this:
It is now time to pour the urethane into the mold. This is the most sensitive part. You need first not add bubbles by pouring or by sucking up into the syringe. And you also need to pour the exact quantity to fill the mold... plus a little bit more! Indeed you want your geometry to be the exact one but the Clear Flex will retract when curing. So imagine that the top of your sample corresponds with the top of the mold, if you add exactly the right volume of liquid, you will get a flat surface before curing and something convex after. Which is definitely not what you want for accurate photoelasticity. Instead, if you add a little bit more than the mold volume, you will get something flat after curing. Because the liquid is viscous you can forget to use anything to carefully add the right volume (especially for small quantities), it will not be accurate and, most likely, you will add bubbles to the liquid. Last problem... you need to be fast because the liquid will be more en more viscous very rapidly (we come back on this point a bit further).
So to fill the mold taking all these points into account, here is a suggestion. First, use a syringe. This is the most convenient way to manipulate urethane without adding bubbles (still you need to be careful). Choose a syringe with a convenient volume: if small you will be accurate when pouring but if the sample is large it will take time to fill it (and you need to be fast); if big it will go faster but it will be less convenient (or even impossible) to add the right quantity. You can also use different syringes: a large one to fill in the mold rapidly and a smaller one to add the exact quantity. Also, try different syringe mechanisms because some can have stick-slip behaviors when you push on them which makes accurate filling impossible to get.
So begin by filling in the syringe with urethane without trapping bubbles:
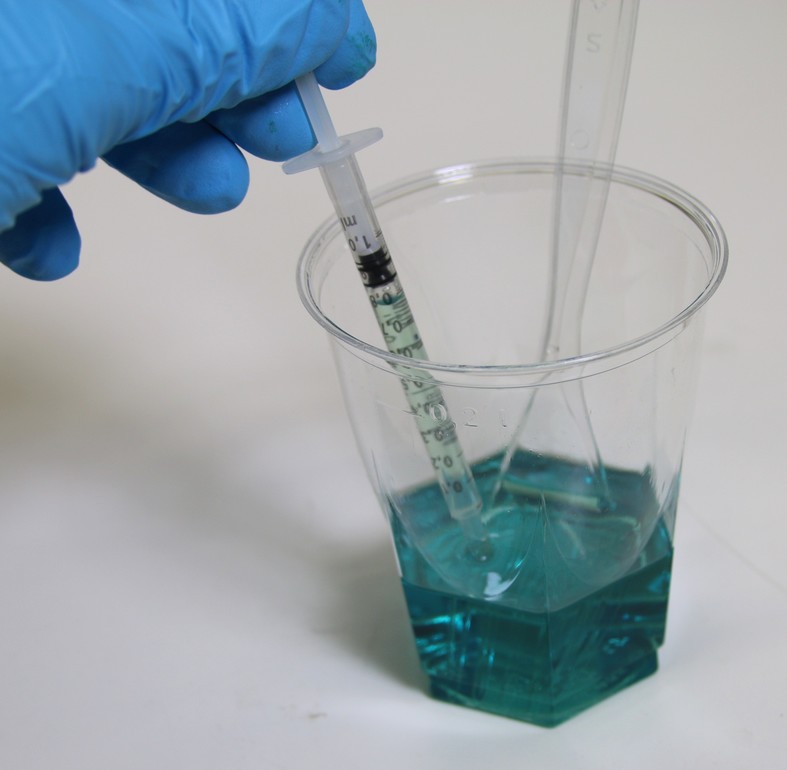
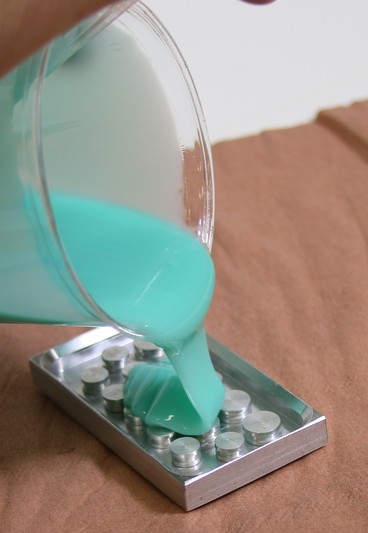
Then, fill rapidly the mold to almost the right quantity:
Here you see that there is not enough:
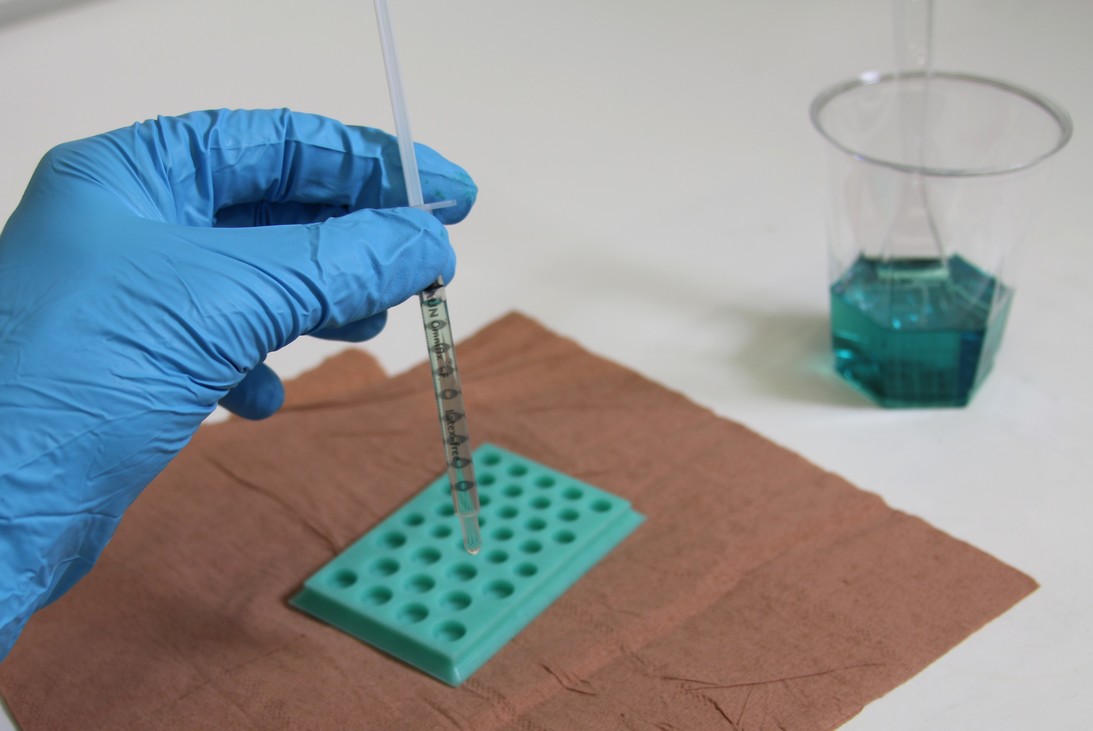
Then, go back and add the exact quantity plus a little bit more:
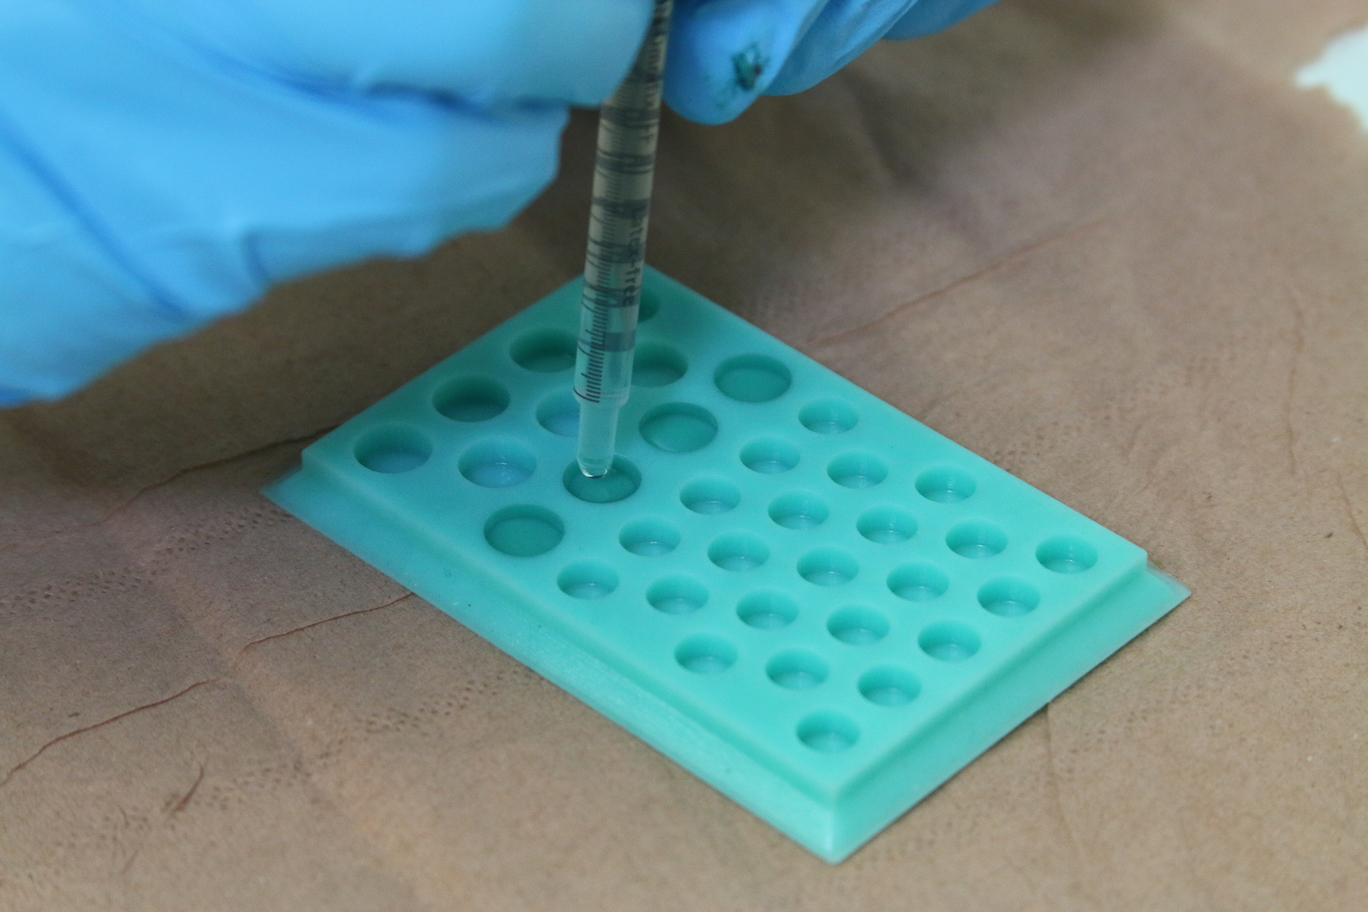
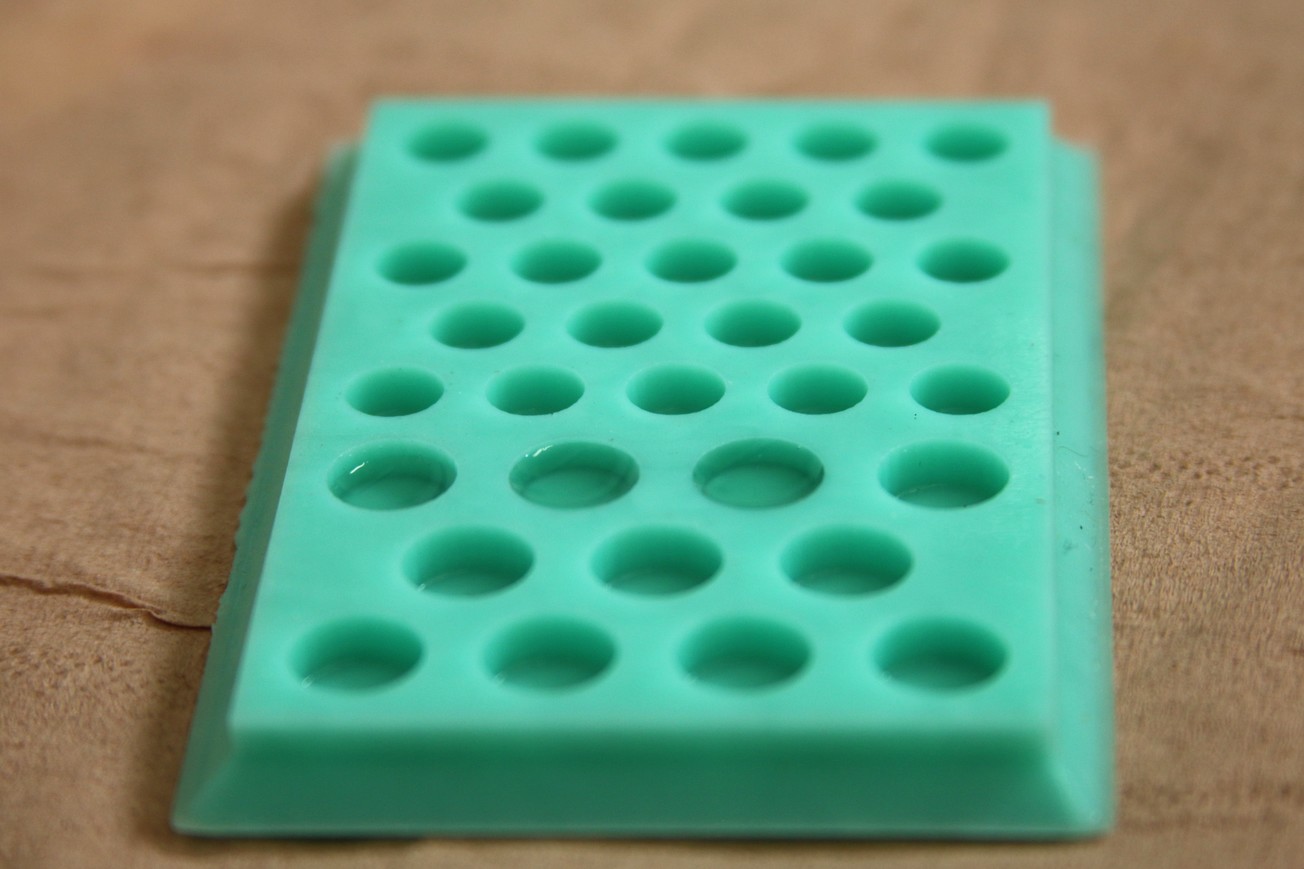
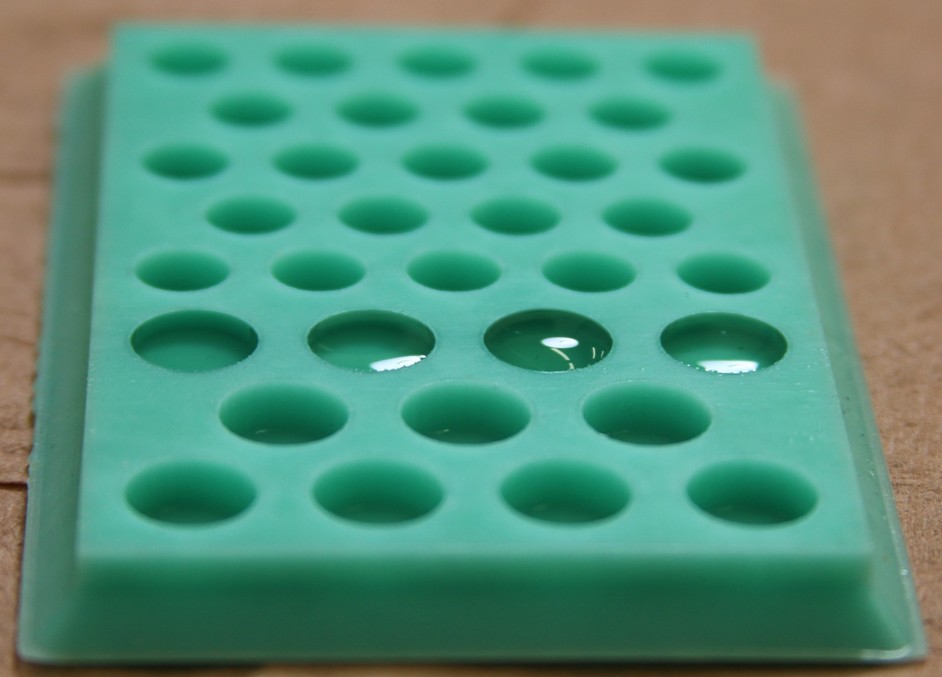 A good way to control the volume you added is to play with the light reflection instead of looking directly since the urethane is mostly transparent. For example, you see here (from left to right) that the first hole is filled with the exact mold volume which is not enough. On the contrary, there is too much urethane in the third one. The second and the fourth ones are OK. How do I know that? I trained... That is the secret of the method it is a trial and error process.
If you need to add just a little bit more in the mold (and if this is less than a drop) pull this quantity out of the syringe and deposit it at the top of the mold hole:
Remember also that, if you put too much you can still suck it back. Same if you add a bubble you can suck it back in the syringe and then trash it.
I said previously that you need to be fast. This is because the urethane gets more and more viscous very rapidly so it is almost impossible to manipulate accurately after around 20min.
First, when just mixed, it is liquid like water:
After 20min it is more viscous:
And after 30min you cannot manipulate it with a syringe at all:
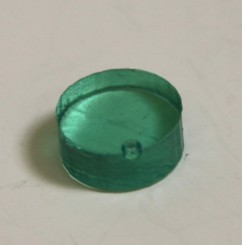
You let it at room temperature for about 16 hours depending on the sample size and then demold it:
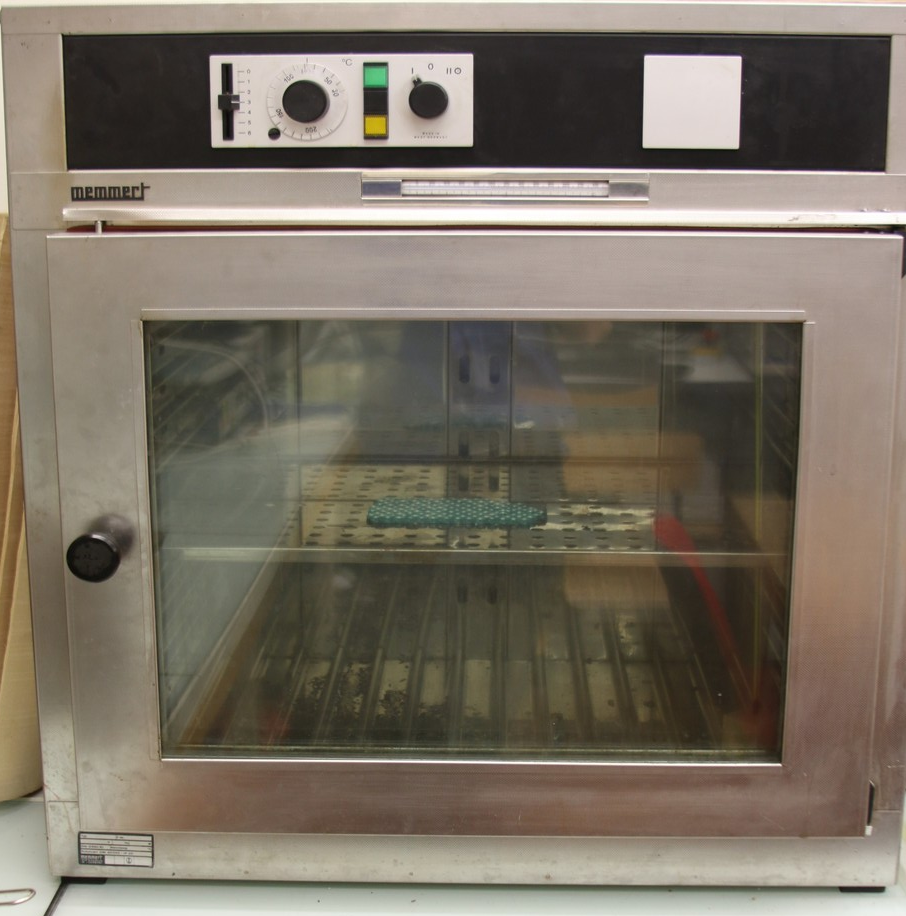
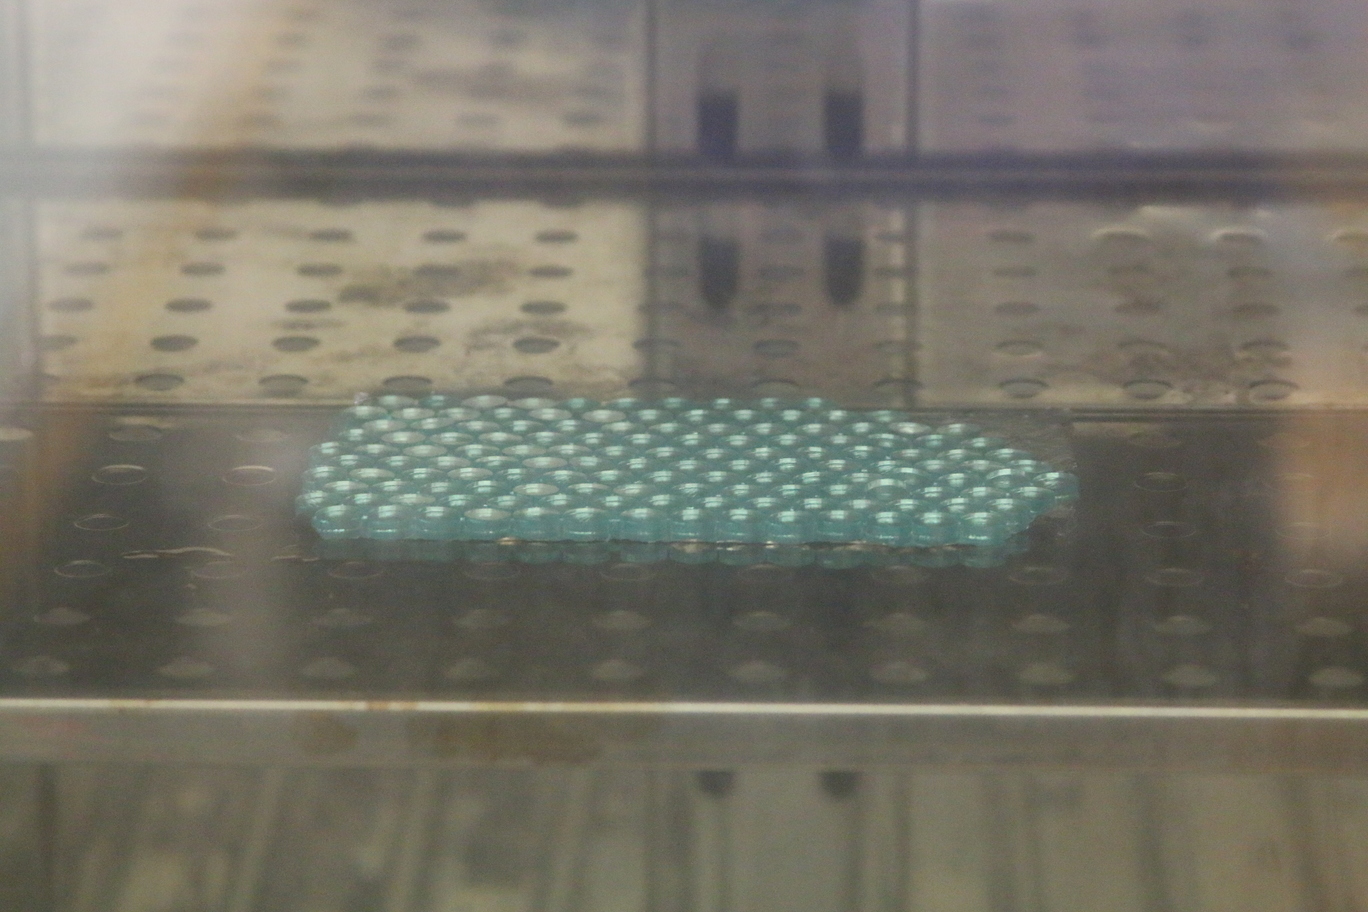
You get a very sticky material. To finish the curing, put it in an oven at 100C for 5 hours or let it at room temperature for one week:
The sample will be less sticky. If you want something even less sticky, you can slightly add a little bit of talk on top of it. You will somehow lose the transparency but it will not be sticky anymore.
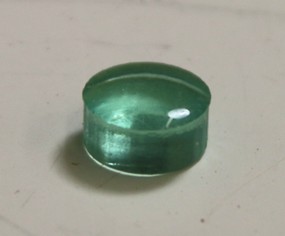
Finally here is an example of what you can get if you pour too much urethane:
Or if you trap a bubble:
[